Using the label editor
Editor layout
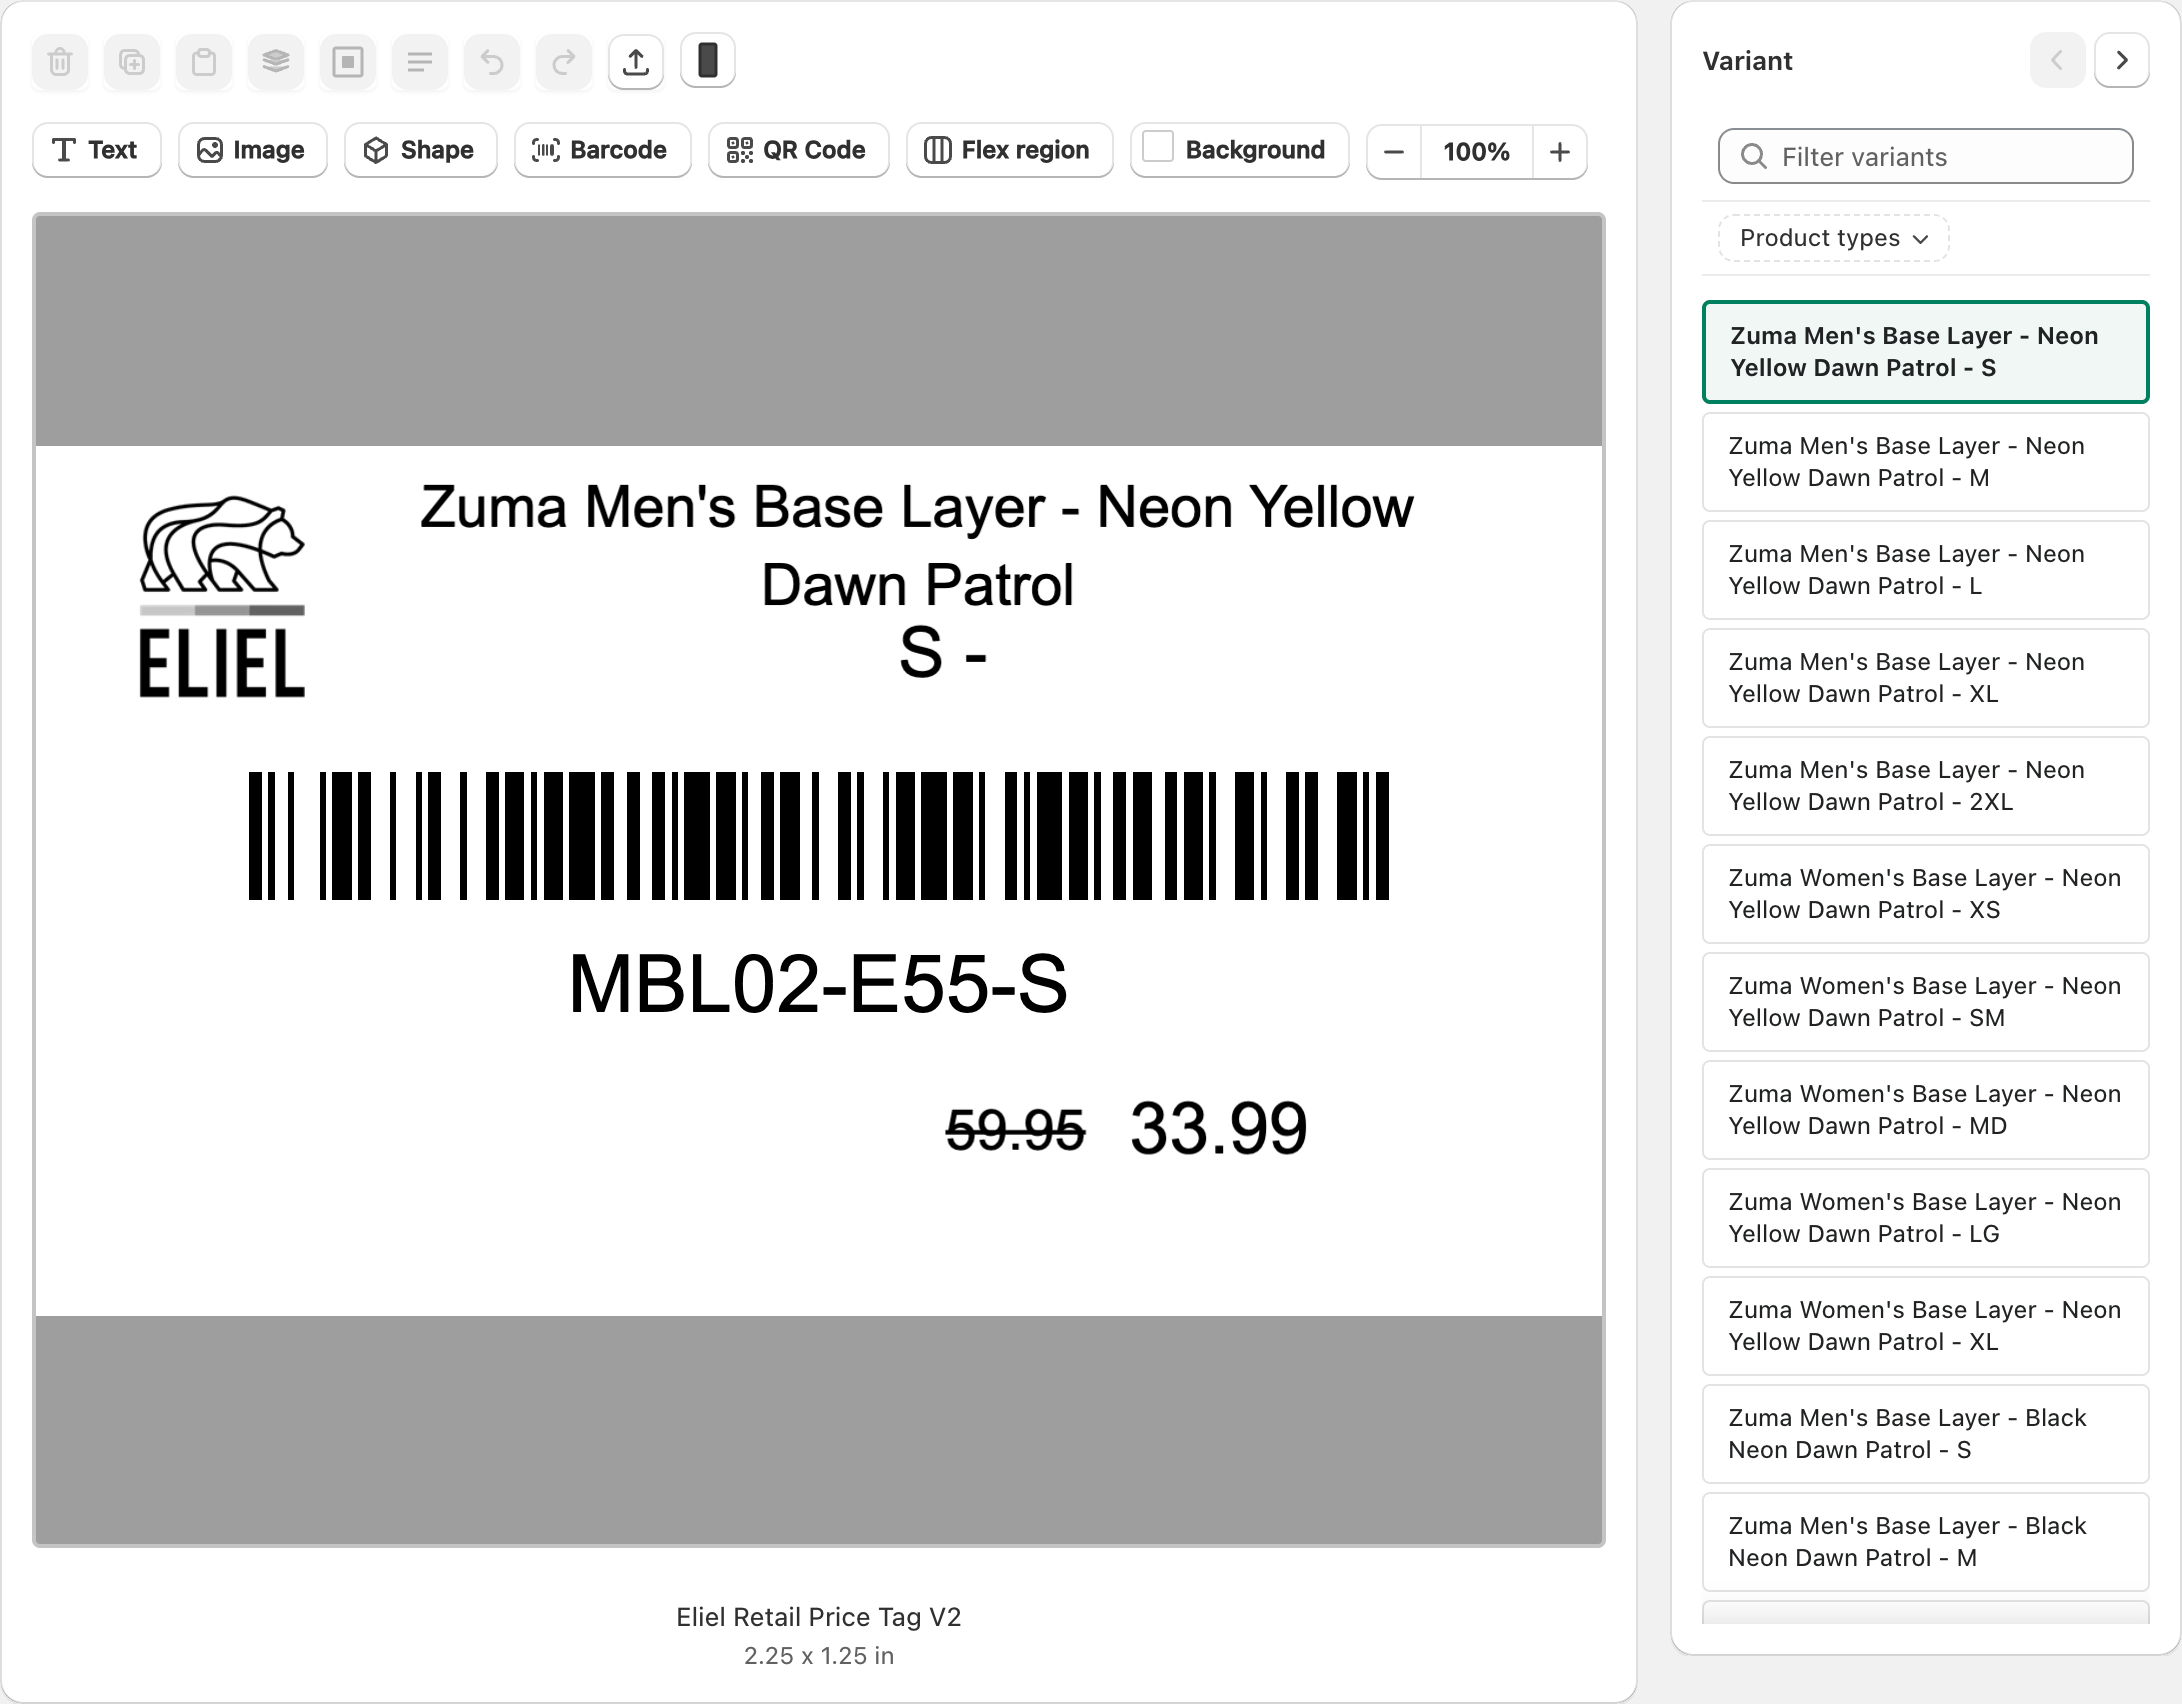
When a design is open you typically see:
- A canvas with your label
- A toolbar for adding objects and common actions
- A sidebar for the selected object’s properties
- Zoom controls so you can work at a comfortable scale
Adding objects
Use the add-object controls to place:
- Text
- Image
- Barcode
- QR code
- Shapes (rectangle, circle, line, and others)
- Flex region (content that adjusts inside a fixed area)
Select an object to edit it in the sidebar.
Align and arrange
Use alignment tools to line objects up with each other or with the label edges. Group related objects when you want to move them together.
Clipboard and undo
- Copy, paste, and duplicate objects with the editor clipboard actions.
- Use undo/redo when available after edits.
Zoom and pan
Zoom in to fine-tune barcodes and small text. Zoom out to see the full label. Use pan (when available in your workspace) to move around large designs.
Saving and printing from the editor
- Save regularly so your design is stored with your shop.
- To print, use print from a saved design or open Print labels.
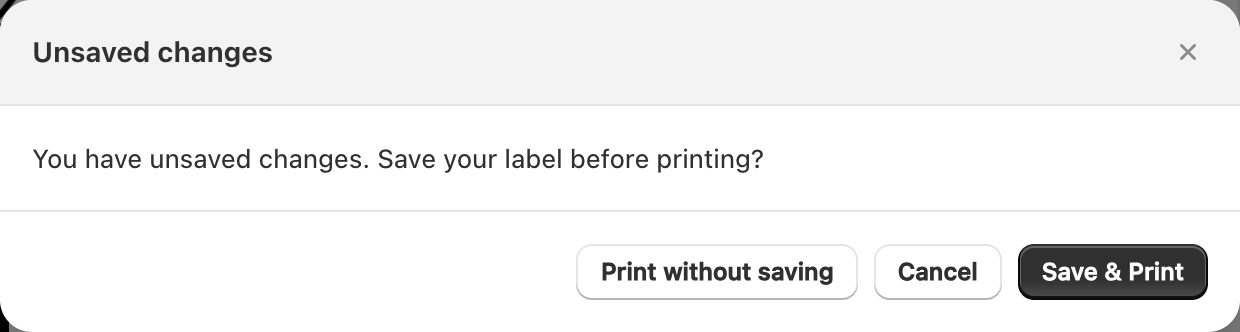
- If you try to print with unsaved changes, the app may offer Save & Print or Print without saving.
Related articles
Updated on: 09/10/2026
Thank you!