Adding images and shapes
Add an image
- Open your design in the editor.
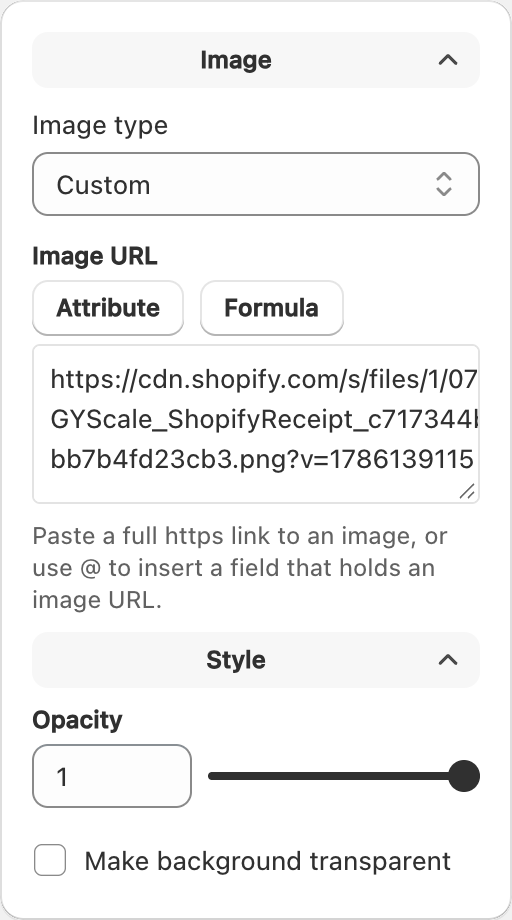
- Add an Image object.
- Choose the image source in the sidebar (for example a custom upload or a product image field, depending on the options shown).
Logos and brand artwork
- Prefer high-resolution PNG or SVG-friendly artwork when possible.
- Keep logos large enough to stay sharp at your print DPI.
- Leave margin from the label edge so cutting or peeling does not clip the logo.
Product images
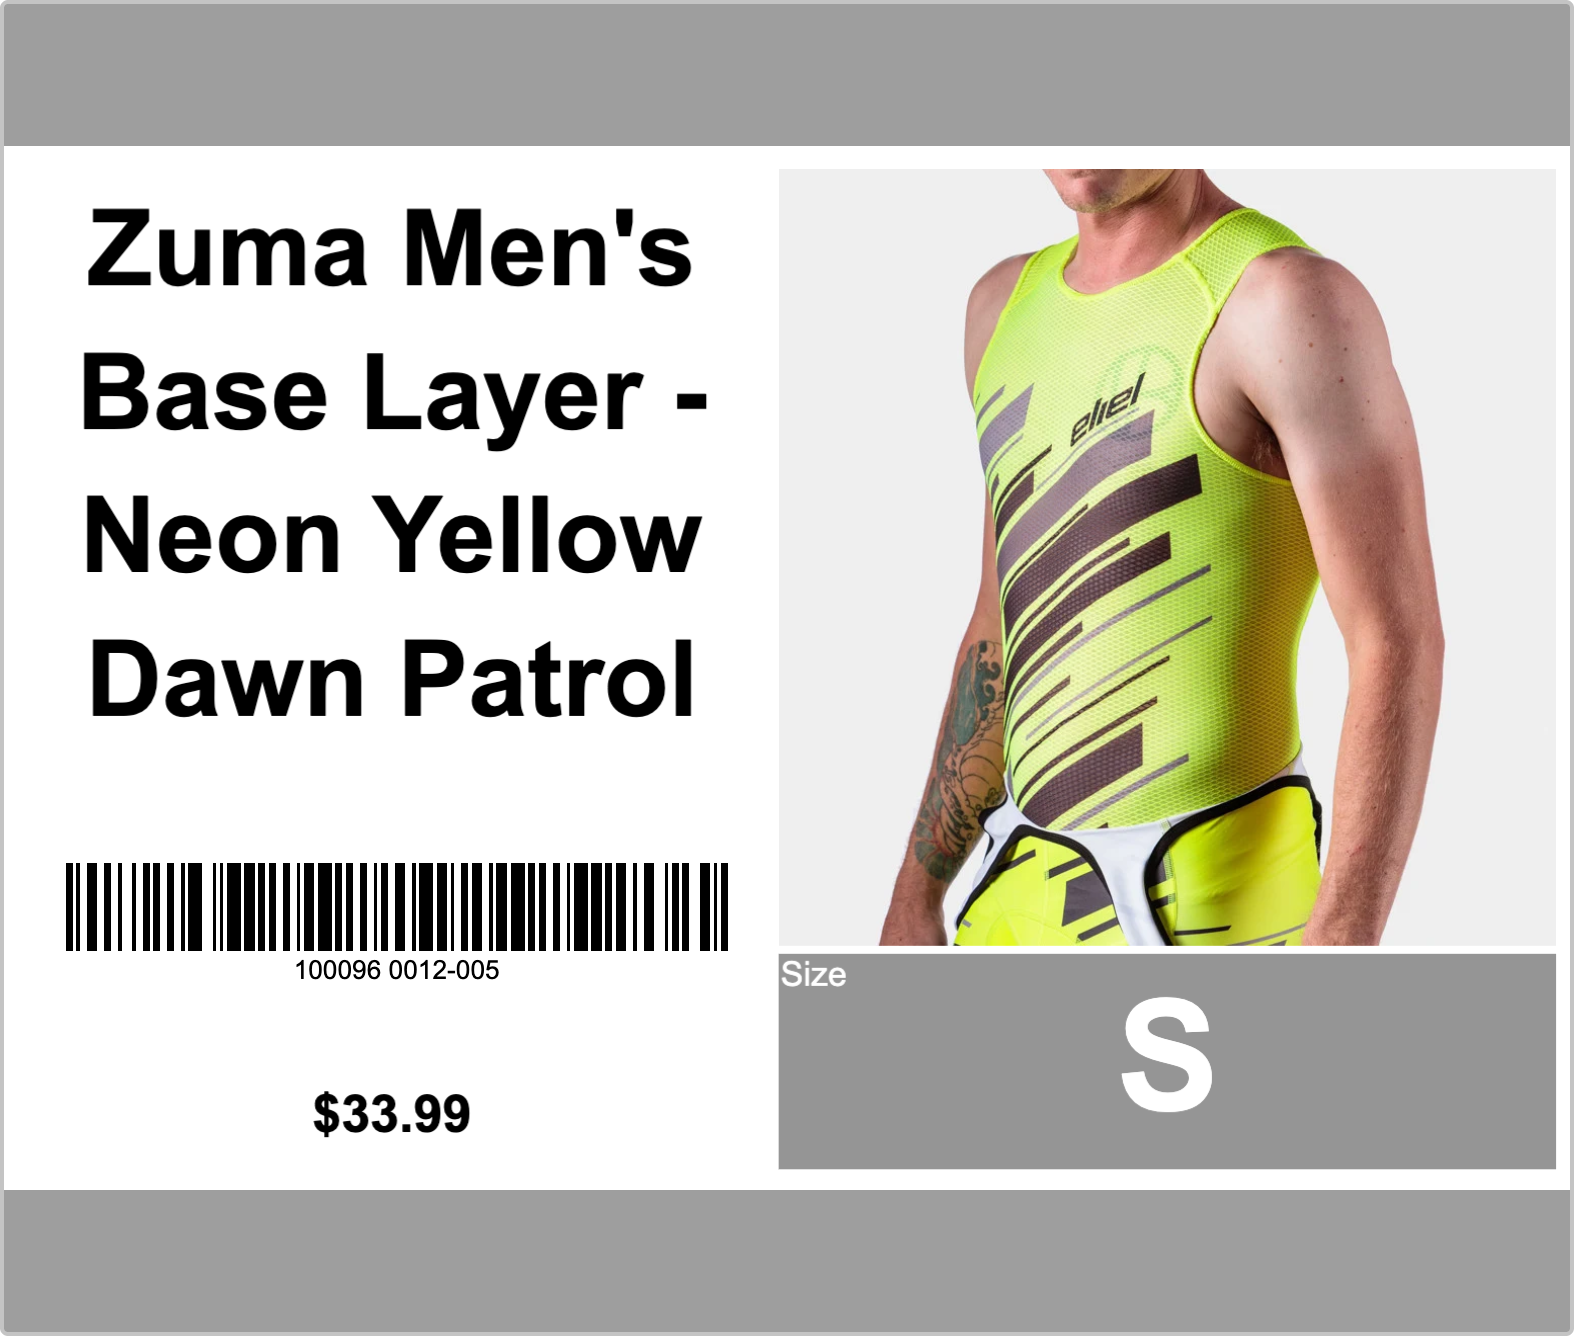
When an image is bound to product data, each variant can show a different picture. Preview with a few variants before printing a large batch. If a product has no image, that area can appear empty.
Add shapes
Use shape tools for:
- Rectangles and rounded frames
- Circles and ellipses
- Lines
- Other polygons supported in the editor
Shapes are useful for borders, color blocks, and visual structure. Set fill and stroke colors in the sidebar.
Layering
Bring important content (barcodes, prices) above decorative shapes. Send background shapes behind text so nothing important is covered.
Related articles
Updated on: 09/10/2026
Thank you!