Getting started with Label Wizard
Step 1: Install the app
- Open Label Wizard in the Shopify App Store and choose Add app.
- Approve the requested permissions for your store.
- After install, Shopify opens the app in admin. You land on the Dashboard (the same home screen you get whenever you open Label Wizard from Apps).
Step 2: Use the Dashboard
The Dashboard is where you start. From here you can:
- Start a new design (Design a label)
- Open Your designs
- Browse ready-made designs or start from a sheet or roll
- Print labels for products
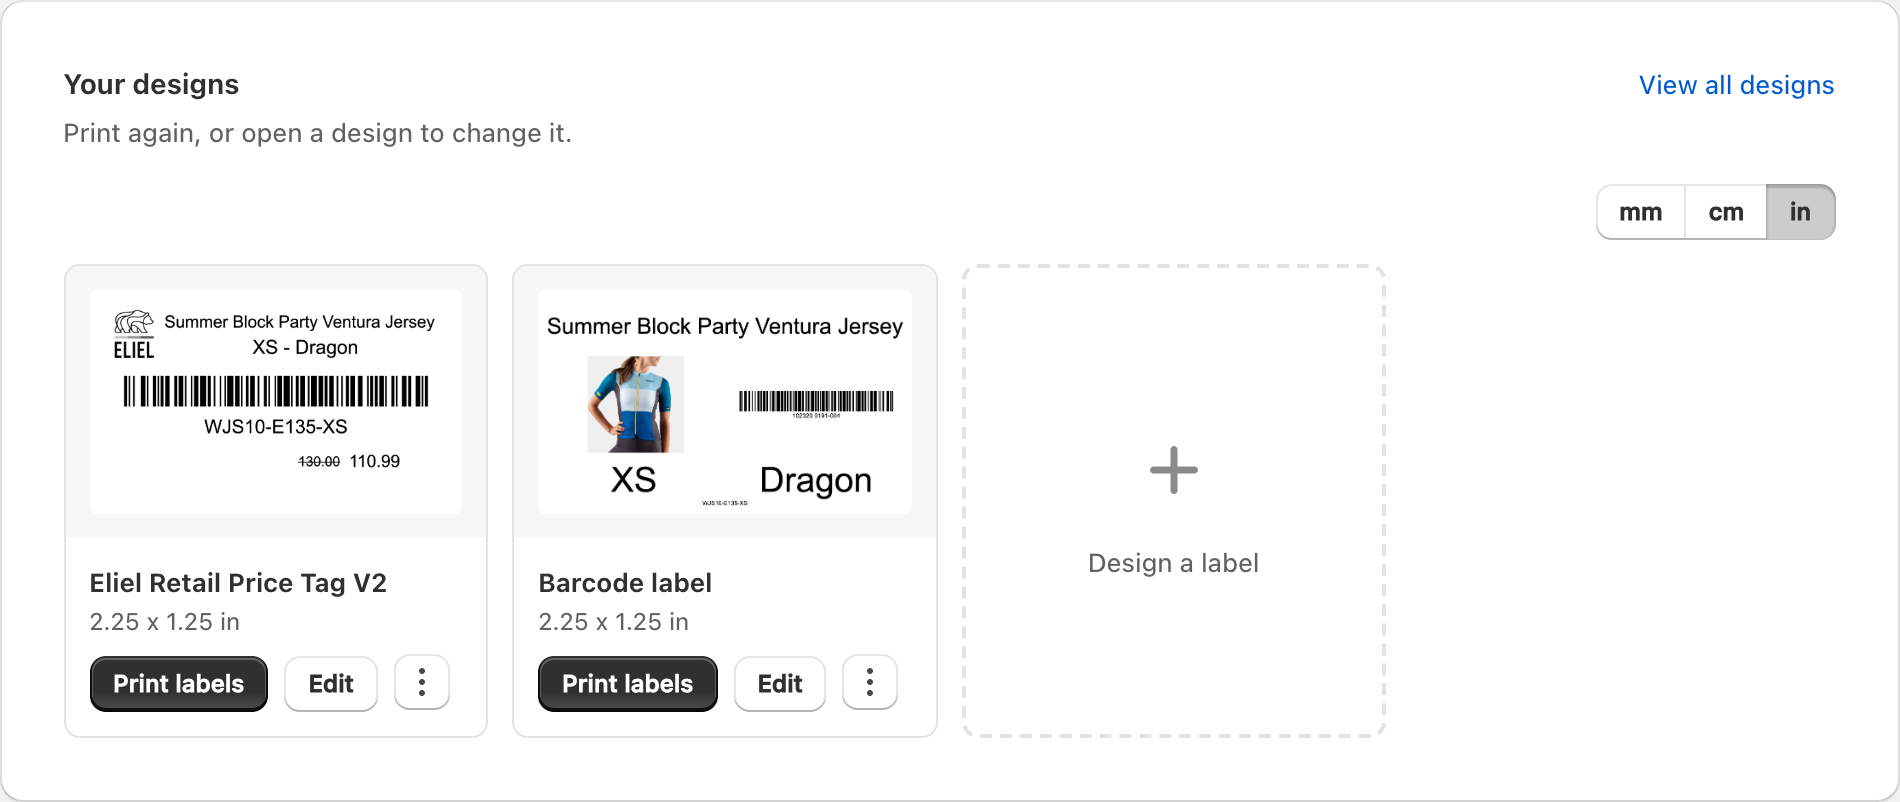
Step 3: Design your first label
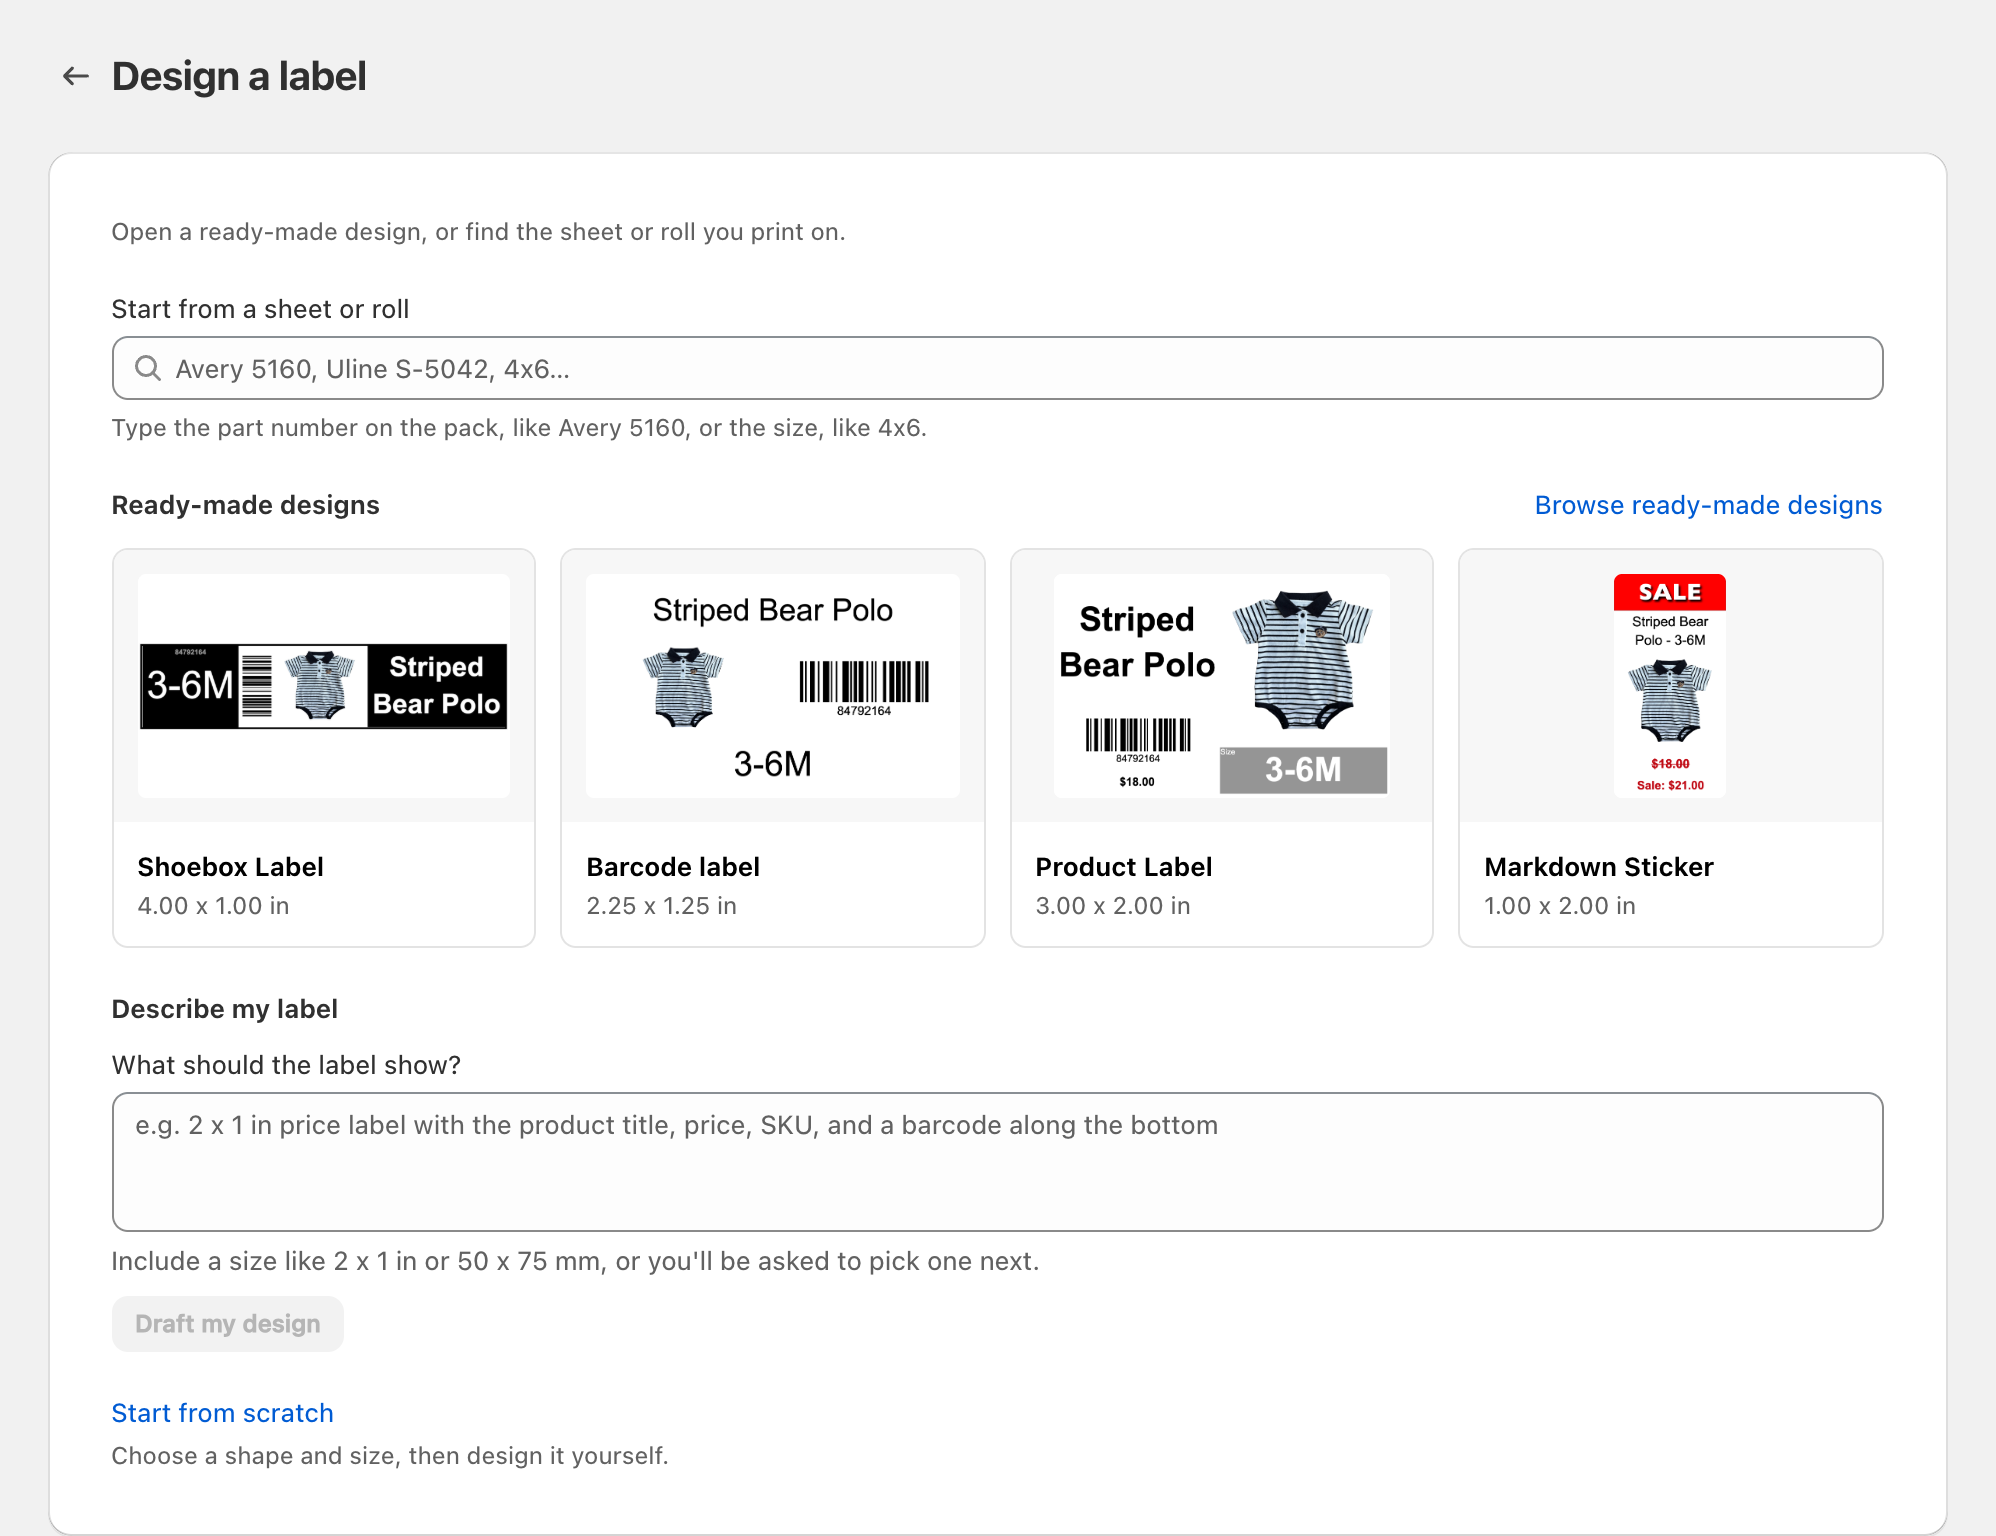
- Choose Design a label.
- Pick how you want to start:
- Browse ready-made designs — start from a sample layout
- Start from a sheet or roll — match a manufacturer template (for example Avery or Online Labels)
- Start from scratch — choose shape and size yourself
- Add text, barcodes, or product fields as needed, then Save.
See Creating a new label design for more detail.
Step 4: Print labels
- Open Print labels (from the navigation or from a saved design).
- Select one or more products.
- Set quantities if needed, then choose Print.
- Pick your sheet or roll and print settings, then confirm.
See Printing labels for your products.
What’s next
- Understanding plans and label credits
- Choosing your label stock
- Label Wizard on product and variant pages
Related articles
- Creating a new label design
- Printing labels for your products
- Settings: language, units, default manufacturer and preferences
Updated on: 10/10/2026
Thank you!